

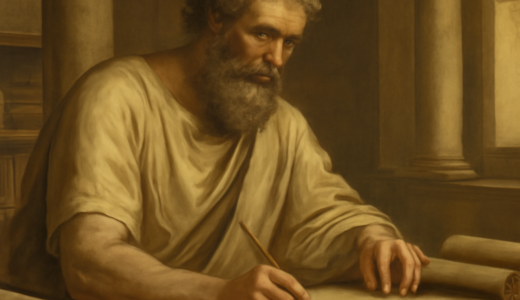
تاريخ الحركة البيئية: من التحذيرات الأولى إلى قمم المناخ العالمية
تعرف على تاريخ الحركة البيئية، من بدايات التحذير من التلوث إلى قمم المناخ العالمية وجهود حماية الكوكب.
اقرأ المزيد
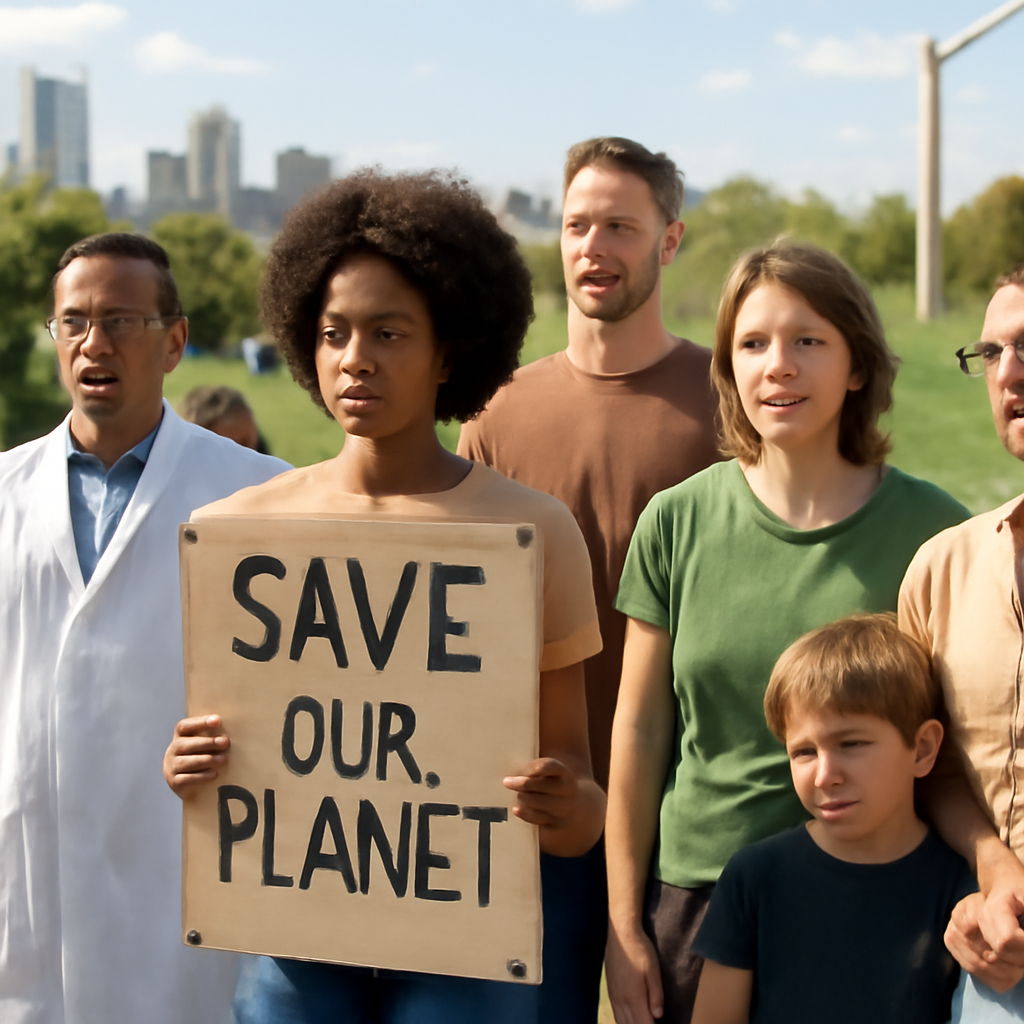
تعرف على تاريخ الحركة البيئية، من بدايات التحذير من التلوث إلى قمم المناخ العالمية وجهود حماية الكوكب.
اقرأ المزيد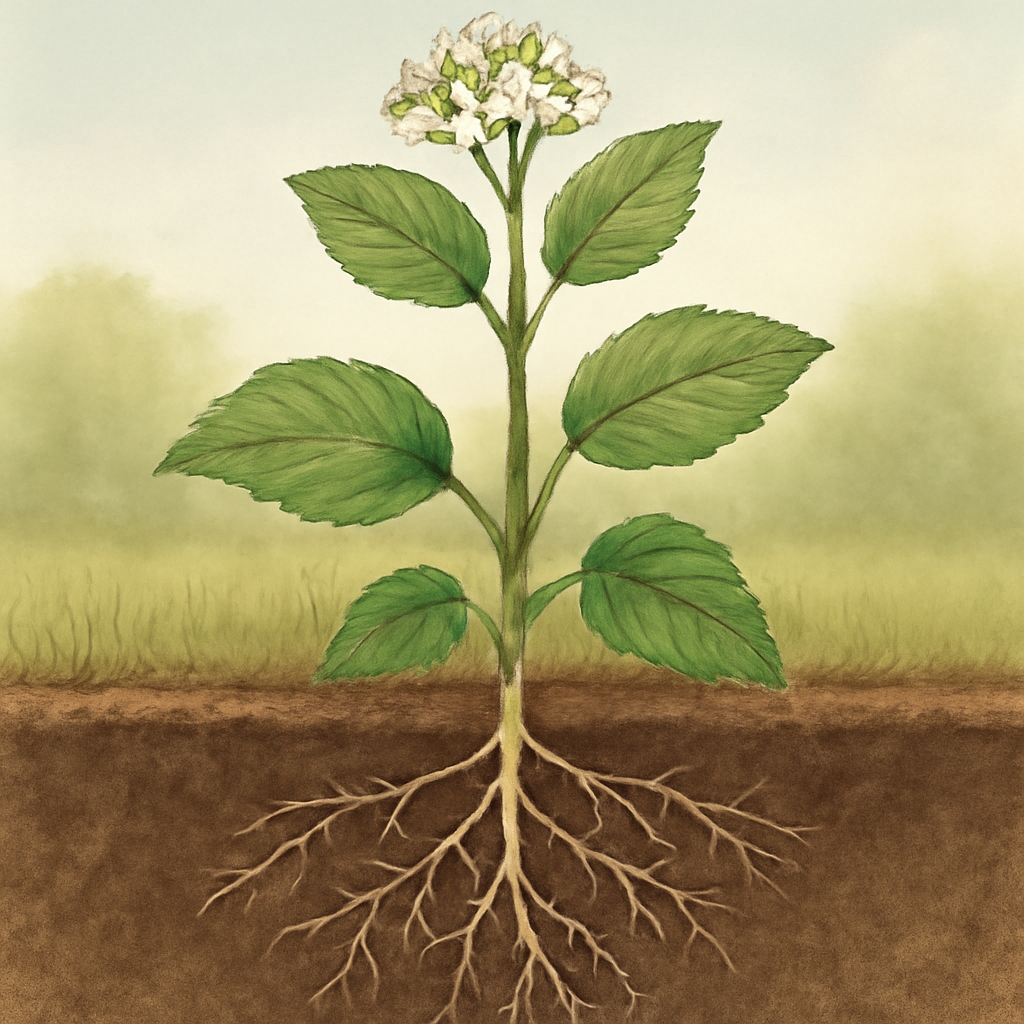
تعرف على أجزاء النبات ووظائفها: الجذور، الساق، الأوراق، والأزهار، وكيف تعمل معًا لنمو النبات وتكاثره.
اقرأ المزيد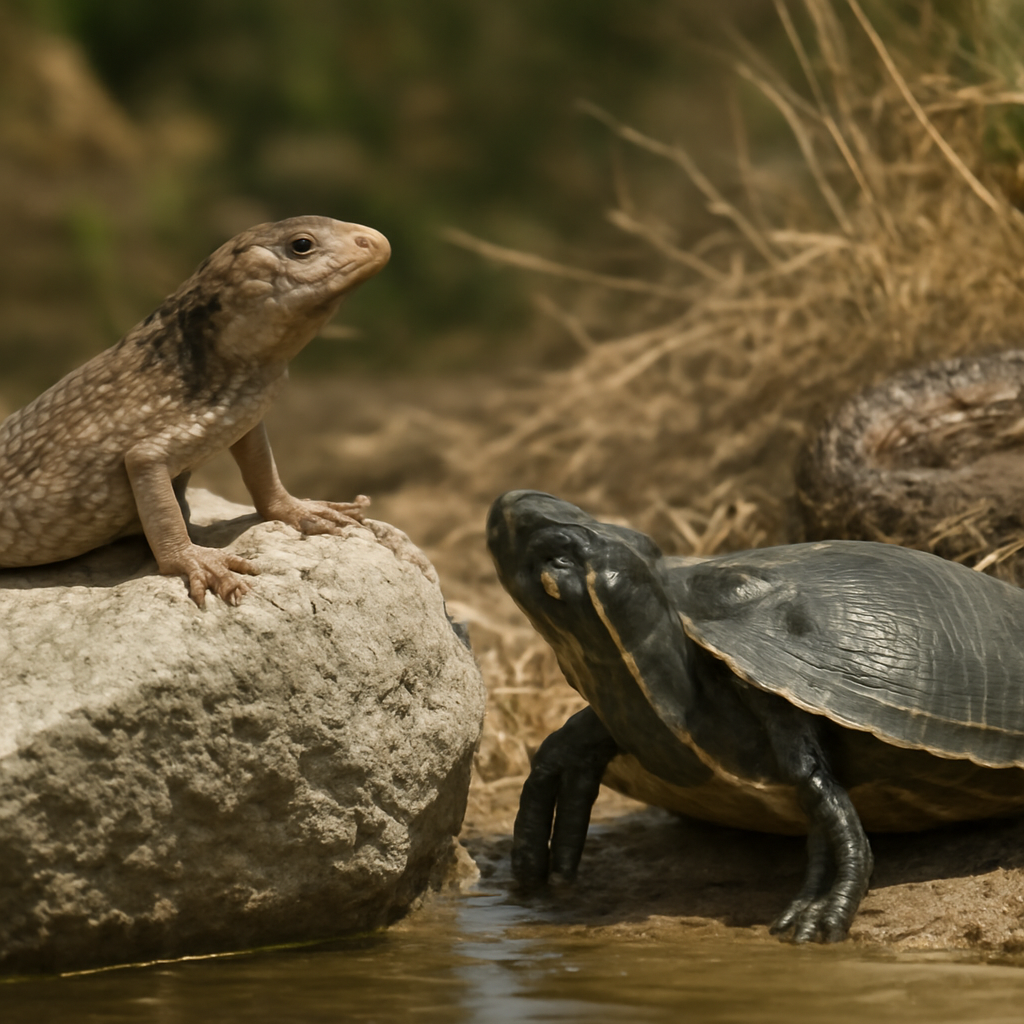
تعرف على الزواحف وخصائصها وأنواعها الأساسية، وكيف تتكيف مع الحرارة والجفاف والعيش في البيئات المختلفة.
اقرأ المزيد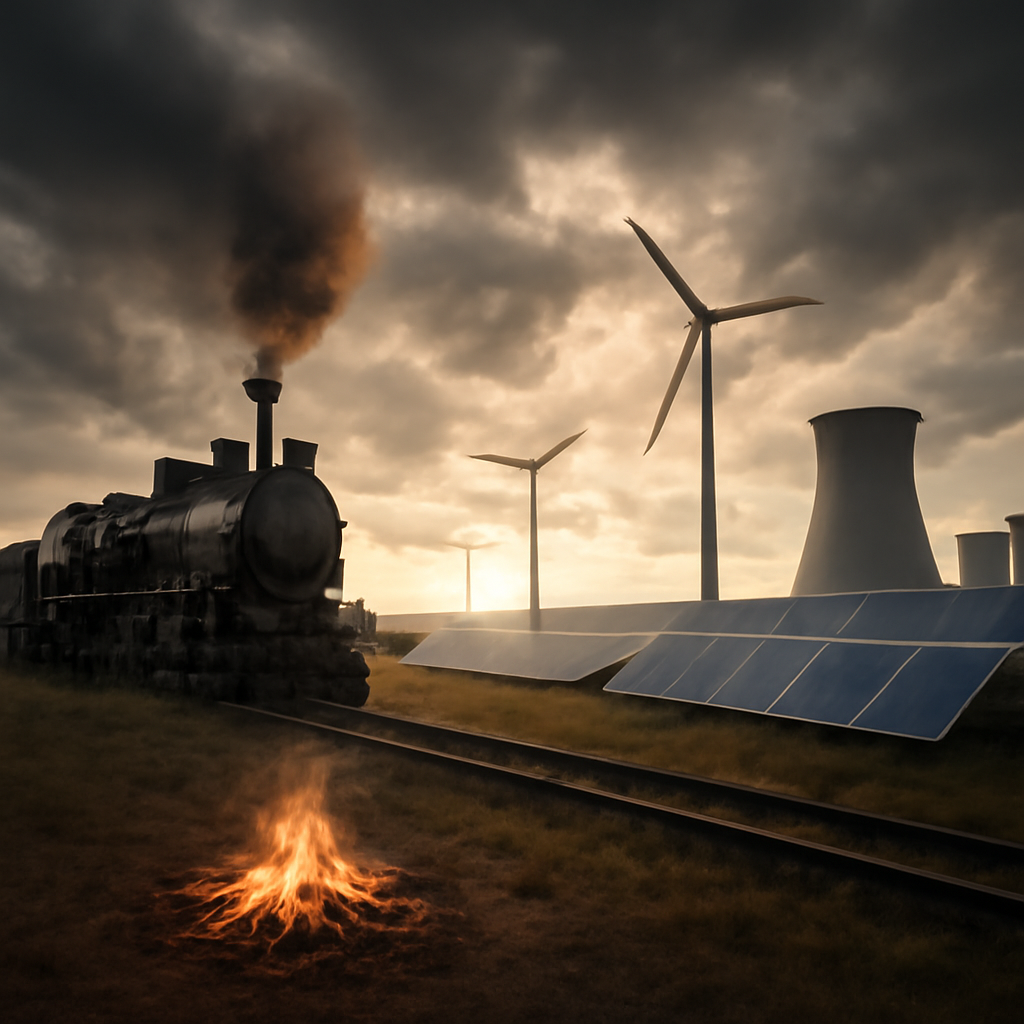
رحلة تاريخ الطاقة من النار إلى الفحم والنفط والكهرباء، وصولًا إلى المفاعلات النووية والهيدروجين المستقبلي.
اقرأ المزيد
تعرف إلى مبادئ الميكانيكا الكلاسيكية وقوانين نيوتن الأساسية وكيف تُستخدم لفهم حركة الآلات والمنشآت وتصميمها.
اقرأ المزيد
تعرف على الفرق بين الهندسة المدنية والهندسة المعمارية وكيف يتكاملان لإنجاح أي مشروع بناء من الفكرة حتى التنفيذ.
اقرأ المزيد